1. Introduction
Samba in Ubuntu is a powerful tool that enables file sharing between different operating systems. It allows seamless data exchange across Linux, Windows, and macOS environments, making it particularly useful for home networks and office environments.
This article provides a beginner-friendly walkthrough, complete with screenshots, on how to install Samba on Ubuntu and configure file sharing. By following this guide, you will be able to easily share files with Windows users using your Ubuntu system.
2. What is Samba?
Samba is an open-source software suite that enables file and printer sharing between UNIX-based operating systems and Windows. Specifically, it emulates the SMB (Server Message Block) protocol—the network file-sharing protocol used by Windows—allowing communication between different operating systems.
With this functionality, Linux and macOS systems can access Windows file systems, and Windows machines can connect to Linux to share files. On Ubuntu, Samba can be installed easily, making it an efficient solution for sharing data between devices in both home and corporate environments.
3. Preparing for Samba Installation
First, ensure that your Ubuntu system is up to date. Applying the latest updates keeps Samba and all other packages current, preventing compatibility issues. Run the following command in your terminal:
sudo apt update && sudo apt upgradeIf your firewall is enabled, you will need to allow Samba traffic in its configuration, as explained later in this article. This is a crucial security step, so do not skip it.
4. Installing Samba
To install Samba, open the terminal and execute the following command:
sudo apt install sambaOnce the installation completes, check the status of the Samba service:
systemctl status smbdWith this, the Samba installation is finished. Next, we will configure the shared directory. From here on, screenshots are included to provide visual guidance for each step.
5. Configuring Samba
After installing Samba, the next step is configuring the shared directory. Start by creating a folder to share using the following command:
mkdir /home/username/sambashareThen, edit Samba’s configuration file located at /etc/samba/smb.conf and add the following settings to designate this folder as a shared directory:
[sambashare]
comment = Ubuntu Samba Share
path = /home/username/sambashare
read only = no
browseable = yes
After completing the configuration, restart the Samba service:
sudo systemctl restart smbdUse screenshots of your smb.conf configuration and directory structure to provide visual support for first-time users.

6. Managing Samba Users
Samba requires creating users and passwords separate from the system’s login credentials. Use the following command to add a new Samba user and set a password:
sudo smbpasswd -a usernameEnable the user with this command:
sudo smbpasswd -e username7. Connecting to Samba Shared Directories
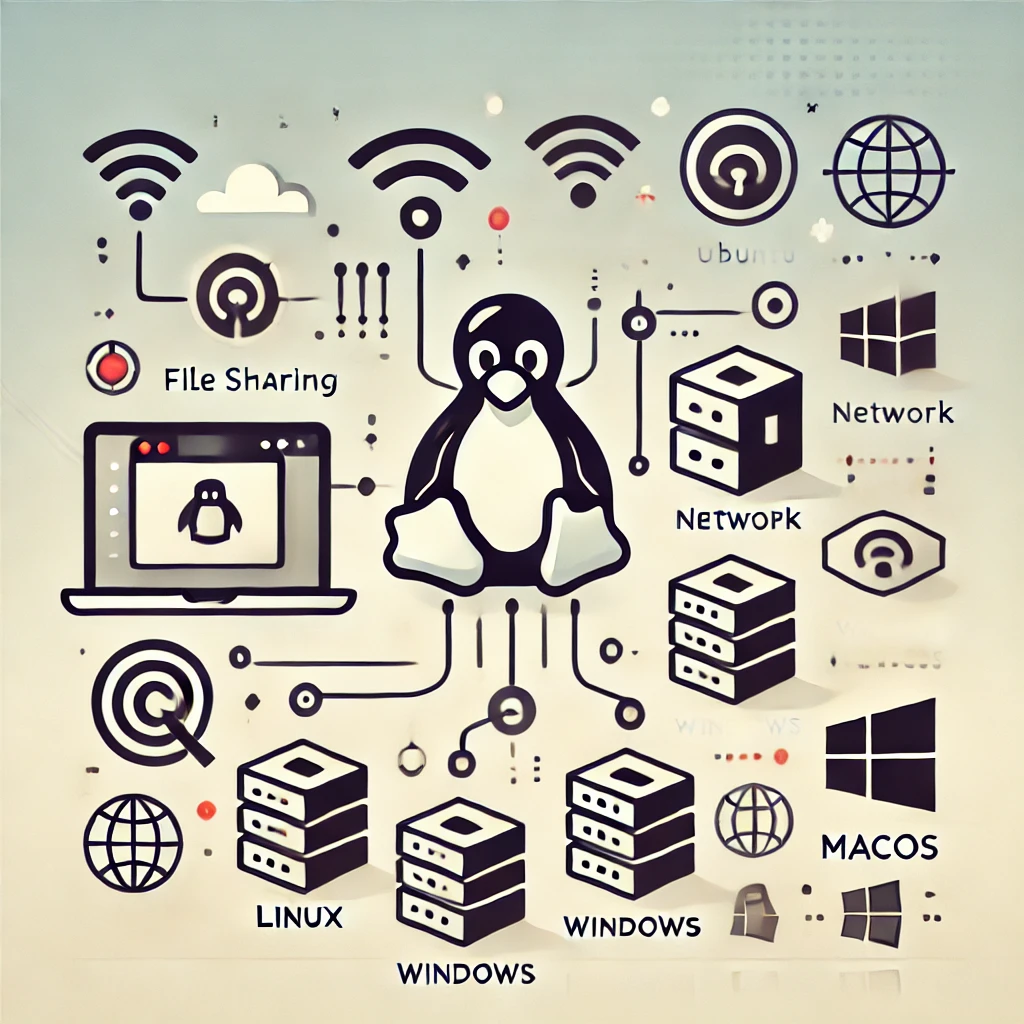
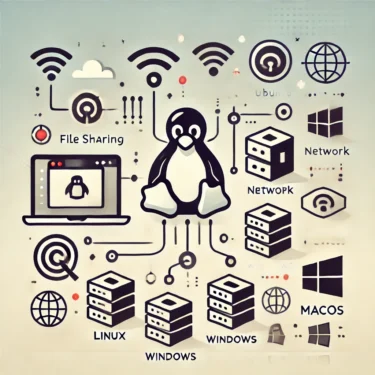
The shared directory configured on Samba can be accessed from Ubuntu, Windows, macOS, and other operating systems.
Connecting from Linux
Linux users can access the Samba share using the file manager and connect via the network. A screenshot helps demonstrate the steps visually.
If using the terminal, run this command (replace the IP address as needed):
smbclient //192.168.1.100/sambashare -U usernameConnecting from Windows
In Windows File Explorer, enter the following format in the address bar:
\\<server IP address>\<share name>Connecting from macOS
Open Finder, select “Connect to Server,” and enter the address below:
smb://<server IP address>/<share name>8. Security and Firewall Configuration
Firewall configuration is essential for maintaining strong security. To allow Samba traffic, execute the following command:
sudo ufw allow sambaAdditionally, restrict access by adding this entry to your /etc/samba/smb.conf file (replace IP addresses as needed):
hosts allow = 192.168.1. 1279. Troubleshooting Common Issues
1. Unable to Connect
If you cannot connect, review your firewall configuration and verify the Samba service status.
2. Permission Errors
If permission errors occur, correct them using the following command:
sudo chmod 2770 /home/username/sambashare10. Conclusion
Samba is a convenient tool that allows seamless file sharing between different operating systems in an Ubuntu environment. This guide was designed to help beginners get started easily. Follow each step to build a smooth and secure file-sharing setup.